
Creating beautiful layered haircuts at home isn’t just a dream—it’s totally achievable with the right techniques and preparation. As someone who’s spent years perfecting hair layering techniques, I’ve seen countless people transform their look without stepping foot in a salon. This comprehensive step-by-step haircut guide will walk you through everything you need to know about how to cut layers professionally at home.
STEP 1: PREPARE YOUR HAIR AND GATHER ESSENTIAL TOOLS
Your success starts before you make the first cut. Professional hairstylists know that preparation makes all the difference between a salon-worthy result and a DIY disaster.
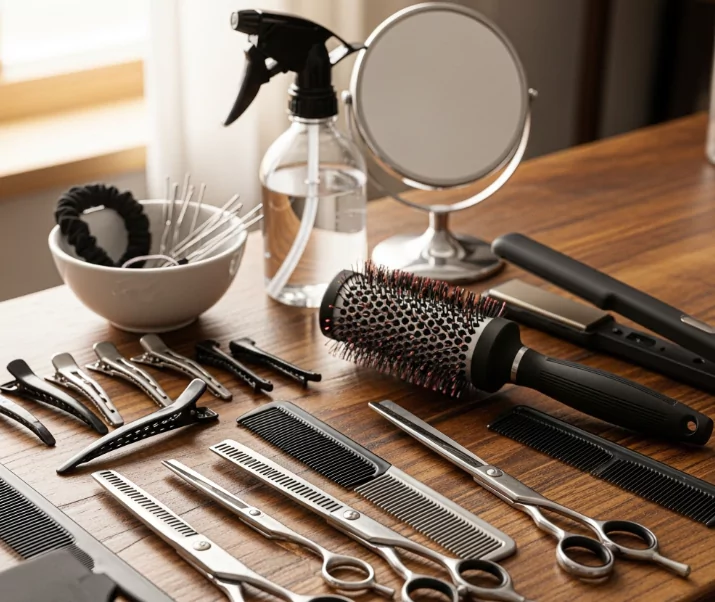
Professional scissors aren’t negotiable here. Kitchen scissors will crush your hair strands and create uneven cuts that look choppy. Invest in quality cutting shears with sharp, straight blades. You’ll also need a cutting comb, sectioning clips, and a spray bottle for dampening hair.
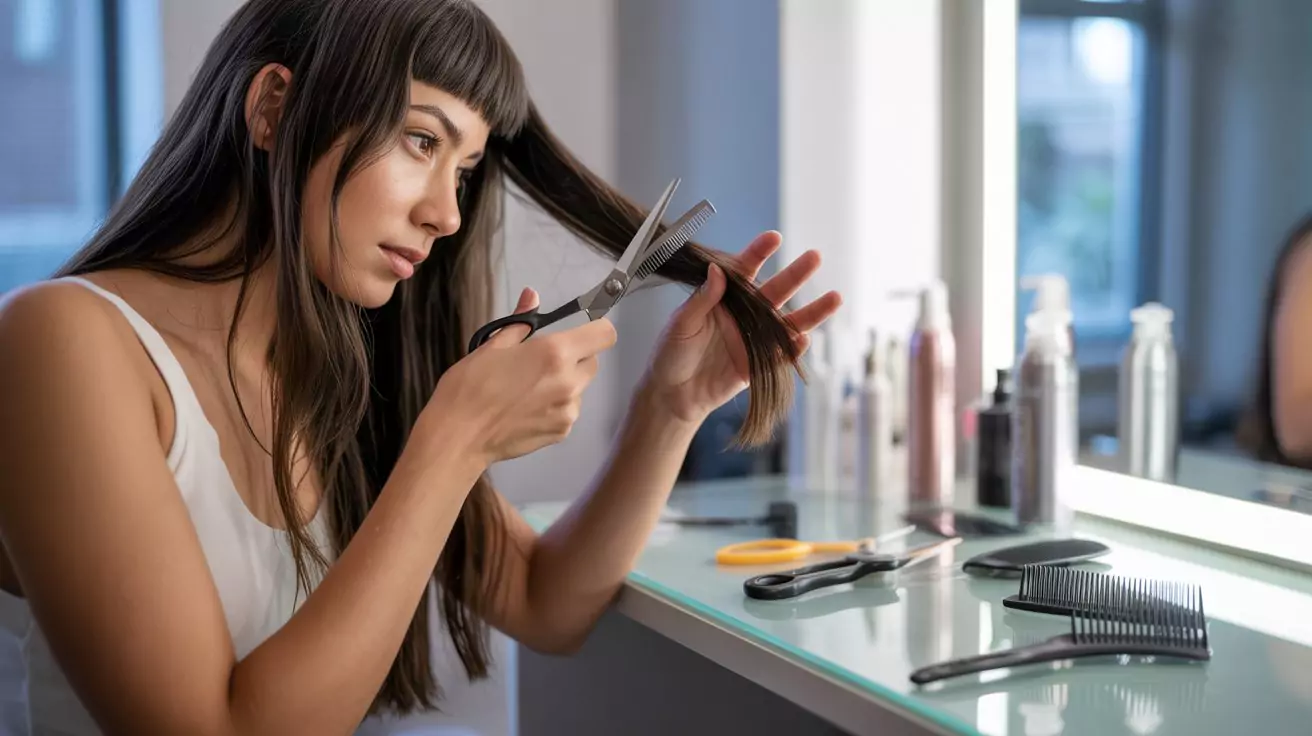
Start with freshly washed hair that’s about 80% dry. Completely wet hair appears longer than it actually is, leading to shorter-than-expected results. However, slightly damp hair gives you better control during cutting.
Set up near a large mirror with excellent lighting. Natural daylight works best, but if that’s not available, use bright white LED lights that won’t cast shadows or change how colors appear.
Consider your face shape before diving in. Face-framing layers work differently on round faces versus angular ones. Round faces benefit from longer layers that start below the chin, while square faces look amazing with soft, wispy layers around the cheekbones.
STEP 2: MASTER THE SECTIONING TECHNIQUE
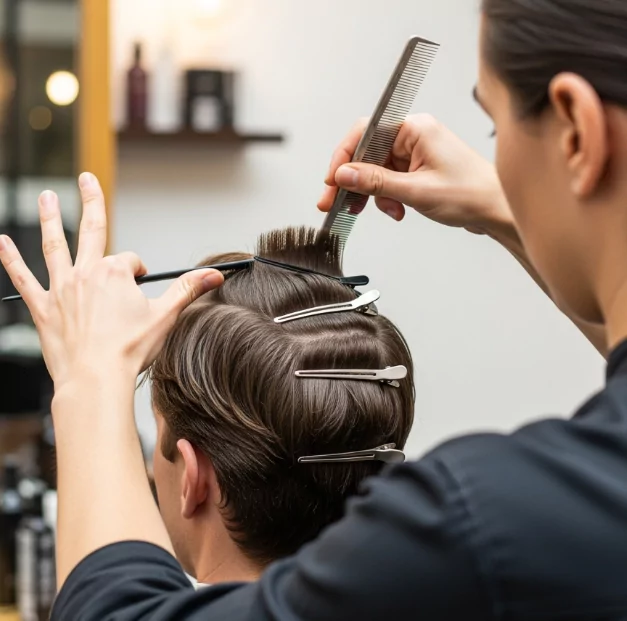
The seven-section method is your secret weapon for even, professional-looking layers. This technique divides your hair into manageable portions that ensure consistency across your entire head.
Start by creating a center part from your forehead to the nape of the neck. Then make a horizontal part from ear to ear, separating the top section from the bottom. You’ll have four main sections: left side, right side, back bottom, and top crown area.
Use sturdy clips to secure each section. Cheap clips that slip will sabotage your efforts and create uneven results. Work with one section at a time, keeping the rest safely pinned away.
The ponytail method works brilliantly for beginners attempting their first DIY layered haircut. Gather all your hair into a high ponytail at the very top of your head. This single ponytail creates graduated layers when you cut straight across. The hair closest to your scalp becomes the longest layer, while the hair from the sides creates shorter staggered layers.
For more advanced layering techniques, try horizontal sectioning. Start at the bottom and work your way up, cutting each section slightly shorter than the one below it. This creates smooth, blended layers without harsh lines.
STEP 3: CUT LAYERS ACCORDING TO YOUR HAIR TYPE
Different hair textures require completely different approaches. What works for straight hair layers can be disastrous for curly hair layers.
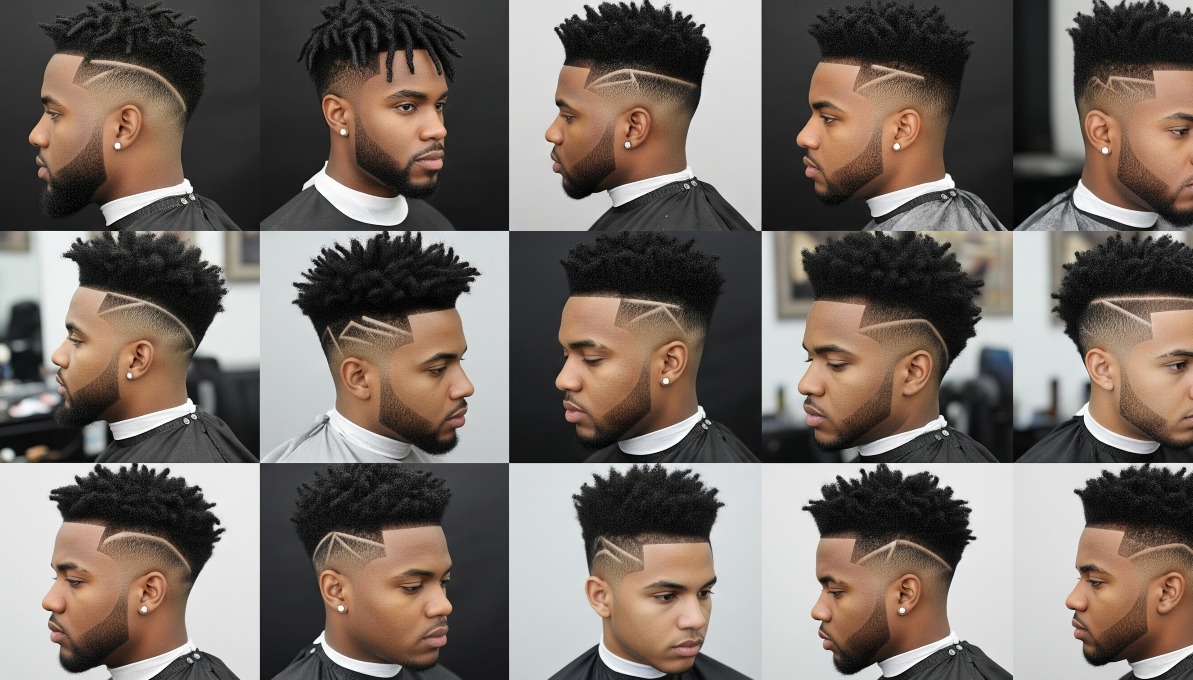
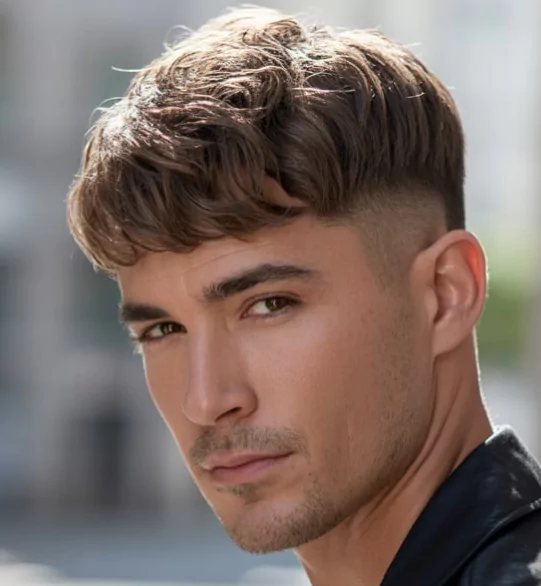
Short layered hair demands precision and restraint. Start conservatively—you can always cut more, but you can’t add length back. For pixie cuts with layers, focus on creating volume and movement around the crown while keeping the sides and back neat and tapered.
Bob with layers looks effortlessly chic when done correctly. Cut your initial bob length first, then add layers by taking vertical sections and cutting at 45-degree angles. This creates soft, flowing movement without destroying the bob’s classic shape.
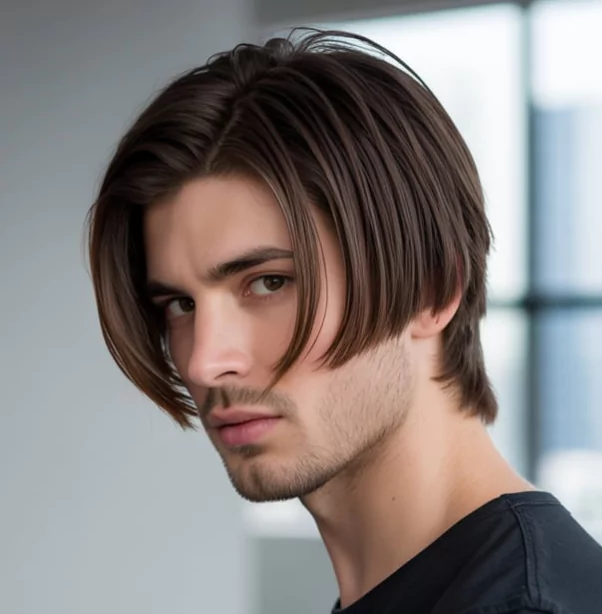
Long layered hair gives you more room for creativity and mistakes. Start your layers at chin level or below for dramatic movement. The key is maintaining enough weight at the bottom to prevent thin, stringy ends.
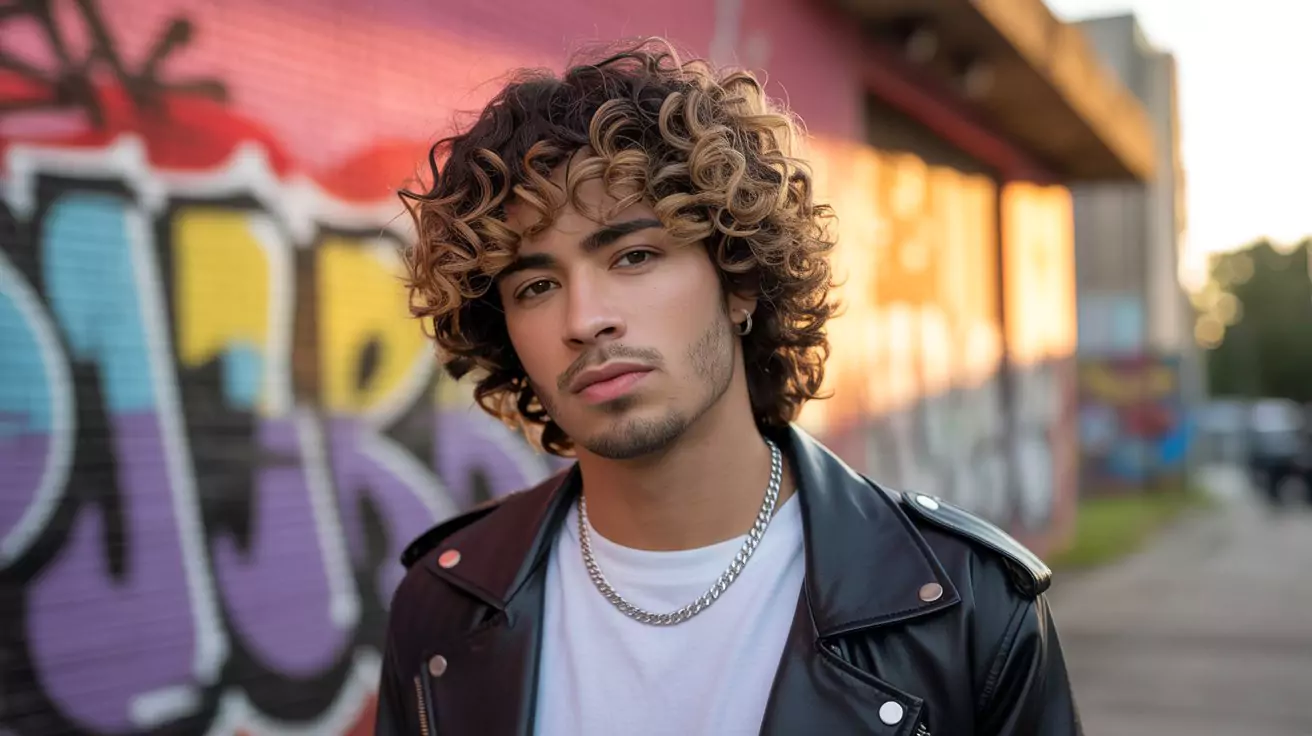
Curly hair layers follow different rules entirely. Always use the dry cutting method for curls. Wet curly hair stretches significantly, making it impossible to predict the final length. Cut curls when they’re in their natural state, working with individual curl patterns rather than against them.
For fine hair, avoid too many layers near the ends, which can make thin hair look even thinner. Instead, focus on creating textured layers through the mid-lengths to add body without sacrificing density.
Thick hair benefits from strategic texturizing techniques. Remove bulk from the interior sections while keeping the outer perimeter intact. This maintains a polished appearance while reducing unwanted volume.
STEP 4: BLEND AND REFINE YOUR LAYERS
This step separates amateur cuts from professional-looking results. Even the most carefully planned layers need refinement to look seamless and polished.
Check your work from every angle using a hand mirror to see the back and sides. Look for any obvious choppiness or sections that stick out awkwardly. Common problems include steps (harsh lines between layers) and weight lines (areas where too much hair was removed).
Point cutting softens harsh lines beautifully. Hold your scissors vertically and make small snips into the ends of each layer. This creates natural-looking texture that moves gracefully.
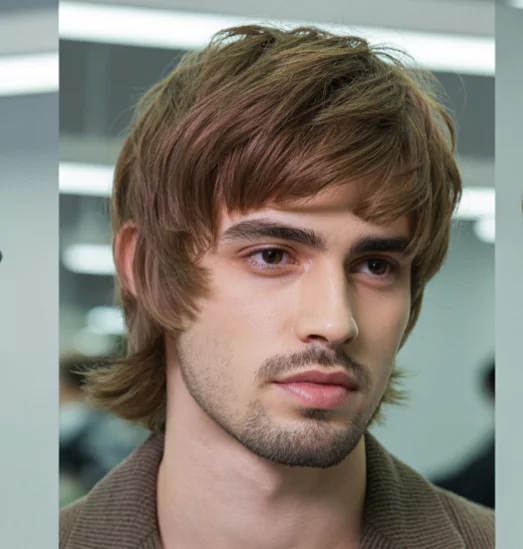
For wavy layered haircuts, focus on following the natural wave pattern. Don’t fight against your hair’s natural movement—work with it to enhance what’s already there.
The angel cut technique involves cutting layers at 90-degree angles to create maximum movement and body. This works especially well for adding drama to longer styles.
If you’ve created obvious mistakes, don’t panic. Small adjustments can usually fix minor unevenness. However, if you’ve cut too much off one side or created major choppy sections, it’s time to visit a professional for correction.
STEP 5: STYLE AND MAINTAIN YOUR NEW LAYERED CUT
Your new layered hairstyle needs proper styling to reach its full potential. The right products and techniques will make your hair layering look intentional and polished.
For volume and movement, apply lightweight mousse to damp hair before blow-drying. Use a round brush to lift sections at the roots while directing the lengths in the direction you want them to fall.
Curly layered haircuts benefit from curl activators and leave-in conditioners that enhance natural texture without weighing down the layers. Scrunch products in gently—don’t disturb the curl pattern with aggressive rubbing.
Textured layers look amazing with a small amount of texturizing wax worked through the ends. This separates the pieces and adds definition without making hair look greasy or heavy.
Maintenance keeps your layers looking fresh between cuts. Trim any split ends immediately—they travel up the hair shaft and make layers look fuzzy and unkempt. Most layered haircuts need professional touch-ups every 6-8 weeks to maintain their shape.
Watch for signs that your DIY attempt needs professional correction: uneven lengths, obvious weight lines, or layers that won’t style properly no matter what you try. A skilled hairdresser can often salvage problematic cuts and get you back on track.
Hair styling products specifically designed for layered cuts can make maintenance easier. Look for products that enhance your natural texture while providing light hold and shine.
Your new layers should move naturally and frame your face beautifully. With proper care and occasional professional tune-ups, your DIY layered haircut can look salon-fresh for months. Remember, confidence is the best accessory—wear your new layers with pride!
FAQs
Q1: How to cut layer cut step by step?
To achieve long layered haircuts, section the hair, cut at varying angles, and blend lengths for movement and volume.
Q2: What type of hair should not be layered?
Extremely fine or thinning hair may not suit layered hairstyles as layers can reduce overall fullness.
Q3: Should you cut layers with wet or dry hair?
For short layered haircuts, wet cutting ensures precision, while dry cutting works best for curly textures.
Q4: Does layered hair make you look older or younger?
A short layered bob often softens features and adds volume, giving a fresher, more youthful look.