
Cutting your own curls might seem terrifying, but it’s actually one of the most liberating hair skills you can master. I’ve been helping people achieve salon-quality curly hair cut techniques at home for over a decade, and the confidence boost my clients experience is incredible. Unlike straight hair, your natural curl pattern works as a safety net, camouflaging minor imperfections while creating gorgeous texture.
Introduction: Why DIY Curly Cuts Work (But Only If Done Right)
Here’s the truth: cutting curly hair at home can save you hundreds of dollars annually while giving you complete control over your look. Most salons charge $120-200 for a curly cut, yet many stylists still don’t understand curl science.
Your curls have a unique advantage. They bounce back and hide small inconsistencies that would be glaring on straight hair. This hair shrinkage phenomenon means you can make minor adjustments without anyone noticing.
However, don’t attempt this if you want a dramatic length change or complex shaping. Save those transformations for curl specialists. This guide focuses on maintenance trims and subtle layering that enhance your existing curl structure.
Essential Tools & Setup (No Fancy Equipment Needed)
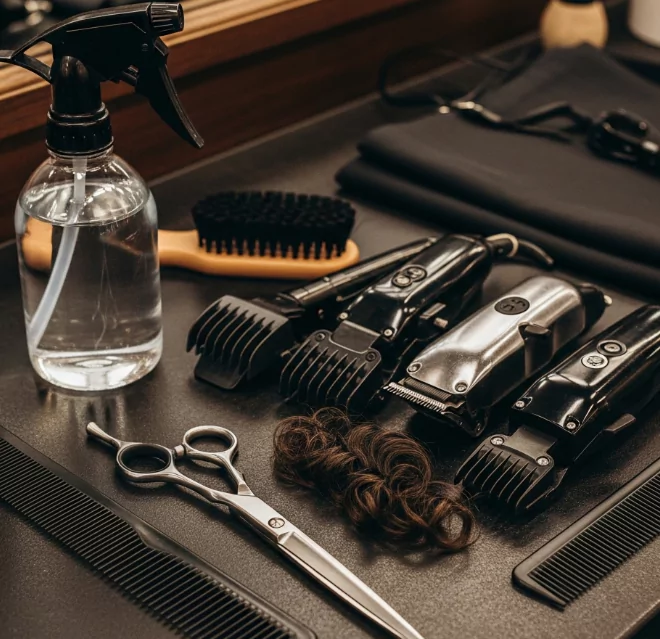
Quality hair shears make all the difference. Kitchen scissors crush your hair cuticle, causing frizz and split ends. Invest in 6-inch hairdressing scissors with sharp, clean blades.
You’ll need a wide-tooth comb for gentle detangling without disrupting your curl clumps. Grab several section clips to keep hair organized during cutting. A spray bottle filled with water and a tiny amount of leave-in conditioner helps refresh curls that have lost definition.
Set up two mirrors – your bathroom mirror plus a hand-held mirror for checking the back. Position yourself near a window for natural light, or use bright LED bulbs that won’t cast harsh shadows.
Pre-Cut Preparation: The Foundation of Success
Understanding your curl type changes everything about your approach. Type 2 waves need different treatment than 4C coils. Your natural state of hair determines how aggressively you can cut and where layers should fall.
Dry cut for curly hair wins every time. Wet curls stretch 2-3 times their natural length, making accurate cutting nearly impossible. You’ll end up with choppy results once everything dries and shrinks back.
Work on second or third day hair when your curls have settled into their natural pattern. Freshly washed hair often looks different than your everyday texture, leading to cutting mistakes you’ll regret later.
The “search and destroy” method targets individual split ends without removing healthy length. Twist small sections and trim any damaged ends that stick out. This dead ends trimming technique maintains your overall shape while improving hair health.
The Unicorn Cut Method: Foolproof Layering Technique

This DIY curly hair cut technique revolutionized at-home cutting. Create a high ponytail at the very top of your head, exactly centered. The ponytail position determines your layer placement, so take time getting this right.
Tilt your head forward slightly and secure the elastic without denting your curls. Slide the elastic down to where you want your shortest layer. This hair sectioning method ensures even distribution around your entire head.
Make one clean cut straight across above the elastic. Use the scissor tip cutting method rather than chopping with the full blade length. This creates softer edges that blend naturally.
Release the ponytail and let your curls spring back. The magic happens as each curl finds its natural length, creating beautiful layers that frame your face and add movement throughout.
Advanced Techniques for Specific Curl Challenges
The curl by curl cutting method works brilliantly for coily textures. Stretch individual curl sections gently and trim just the damaged ends. This even hair cutting technique preserves your curl pattern while removing split ends.
For face-framing layers, use the two-finger measuring trick. Hold your hair at nose level and cut no shorter than your fingertips. Cutting curly hair layers around your face requires extreme caution – you can always cut more, but you can’t add length back.
Avoiding blunt scissors cuts prevents that harsh, chopped-off look that fights against your natural texture. Instead, point-cut into the hair at slight angles to create soft, blended edges.
Common Mistakes That Ruin Everything
The “just a little more” trap destroys more DIY cuts than any other mistake. Each additional snip removes exponentially more apparent length due to hair shrinkage. When in doubt, stop cutting.
Cutting curly hair without damage means working in small sections. Trying to cut large chunks leads to uneven results and potential breakage. Take your time with each section.
Using dull blades crushes your hair shaft instead of cleanly cutting it. This hair breakage creates frizz and makes styling nearly impossible. Sharp scissors slice cleanly through each strand.
Post-Cut Styling for Maximum Impact
Your styling curly hair after cut routine determines how your new layers look. Scrunch gently with a microfiber towel to remove excess water without disrupting curl clumps.
Apply your usual products using the “praying hands” method to encourage curl definition. Frizz control becomes easier with properly trimmed ends that aren’t splitting and causing flyaways.
Diffuse on low heat with the cup attachment, or air dry for the most natural results. Your new layers need time to settle into their pattern, so don’t judge the cut immediately.
Troubleshooting: When Things Go Wrong
Uneven sections happen to everyone. Resist the urge to keep evening things out – you’ll end up with progressively shorter hair. Instead, identify the longest pieces and trim just those areas.
If you’ve cut too much, focus on maintaining curly hair at home while it grows. Deep conditioning treatments and protective styling help damaged areas recover faster.
Sometimes professional intervention is necessary. A skilled stylist can fix most DIY disasters, often by adding strategic layers or reshaping your overall silhouette.
Maintenance Timeline: Keeping Your Cut Fresh
Curly hair maintenance differs significantly from straight hair schedules. Most curly textures need trimming every 10-16 weeks, not the traditional 6-8 weeks.
Watch for signs you need a trim between salon visits: increased tangling, loss of curl definition, or visible split ends. These indicators matter more than calendar dates.
Natural curly hair care between cuts involves protective sleeping techniques, regular deep conditioning, and gentle handling to prevent breakage.
Final Reality Check: Is This Right for You?
How to cut curly hair at home works best for maintenance trims and subtle layering. Types 3A-3C typically see the best results, while 4C textures require more specialized techniques.
If you’re pregnant and can’t get to a salon, have budget constraints, or simply want more control over your hair, this step-by-step curly haircut guide offers a safe starting point.
Trust your instincts. If something feels wrong during the cutting process, stop immediately. Hair grows, but confidence takes longer to rebuild after a cutting disaster.
Remember that cutting curly hair at home is a skill that improves with practice. Start conservatively, learn from each attempt, and gradually build confidence in your technique. Your curls will thank you for the personalized attention only you can provide.