
Salon visits averaging $65-$100 leave many searching for alternatives. Professional at-home haircuts with scissors have become increasingly popular, especially when appointments stretch weeks out. With proper techniques and basic tools, you can achieve salon-worthy results from your bathroom mirror.
Howard McLaren, celebrity stylist and R+Co creative director, emphasizes that successful DIY haircuts depend more on technique than expensive equipment. This comprehensive guide reveals 10 proven methods for cutting your own hair safely and effectively.
Essential Preparation
Before attempting any haircut at home with scissors, proper preparation determines your success. Professional shears differ dramatically from household scissors. Kitchen shears crush hair strands, creating split ends and uneven cuts. Investment in quality hairdressing scissors pays dividends immediately.
Required tools include sectioning clips, fine-tooth combs, and spray bottles for dampening. Jessica Teich, IGK New York stylist, recommends cutting in bright, natural lighting. Poor lighting causes uneven sections and misjudged lengths.
10 Best Ways to Cut Hair at Home with Scissors
The Basic Straight Trim
This beginner-friendly method works perfectly for maintaining length while removing damaged ends. Start with freshly washed, damp hair combed straight down. Section hair horizontally at ear level, securing the top portion away.
Working from back to front, cut small sections at a time. Hold scissors parallel to the floor and cut straight across. Trimming hair at home succeeds when you take conservative amounts—typically half an inch initially.
Olya Iudina, master stylist, warns against cutting more than two inches in a single session. Hair appears longer when wet, so err on the side of caution. This technique works exceptionally well for straight hair and fine textures.
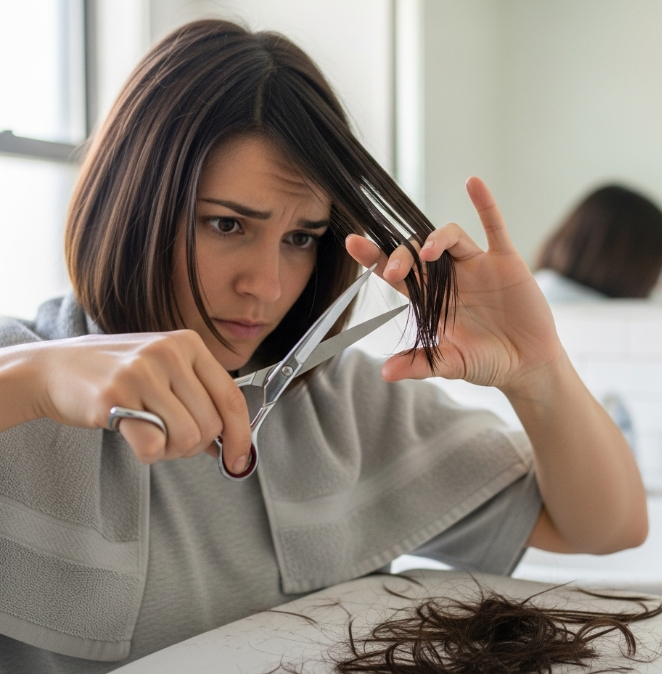
Split End Removal Using Twist Technique
Traditional trimming split ends often misses damaged strands hidden within healthy hair. The twist method reveals every compromised end effectively. Work with completely dry hair in natural lighting.
Take small sections roughly pencil-thickness. Twist tightly while sliding fingers down the length. Damaged ends protrude from the twisted section like tiny antennas. Carefully snip only the protruding damaged portions.
Frédéric Fekkai, renowned celebrity stylist, recommends this method monthly for maintaining healthy ends between major cuts. The technique preserves maximum length while eliminating all damage.
Ponytail Layering System
The unicorn ponytail method creates beautiful layers using simple positioning. Carli Bybel, YouTube beauty influencer, popularized this technique through her viral tutorials. Position determines layer intensity and placement.
High ponytails create shorter face-framing layers. Low ponytails generate subtle, longer layers throughout. Secure hair tightly at chosen position, then slide the elastic down to desired cutting point. Cut straight across above the elastic.
This DIY haircut method works wonderfully for shoulder-length hair and longer styles. The technique creates natural-looking layers without complex sectioning skills.
Point-Cutting for Natural Texture
Point-cutting eliminates harsh lines created by blunt cutting methods. Hold scissors vertically and cut into hair ends at slight angles. This creates soft, natural-looking edges that move beautifully.
Stella Cini, master colorist and stylist, uses point-cutting to blend layers seamlessly. The technique works particularly well after using the ponytail method to soften any harsh lines.
Cut conservatively with point-cutting techniques. Small, frequent snips create better results than large chunks. This method enhances natural texture in wavy hair and adds movement to straight styles.
Curly Hair Sectioning Method
Cutting curly hair at home requires understanding shrinkage and curl patterns. Always work with completely dry, naturally styled curls. Kaye Wright, curl specialist, emphasizes sectioning importance for even results.
Create triangle sections throughout the head, working systematically from back to front. Cut each curl individually at its natural resting point. Avoid stretching curls during cutting, as this leads to uneven results when hair returns to natural state.
Natural hair benefits from this individualized approach. Each curl has unique characteristics requiring personalized attention. The method prevents the dreaded “pyramid” shape common with traditional cutting approaches.
Blunt Bob Creation Technique
Creating a blunt bob at home demands precision and patience. Mark desired length using a fine-tooth comb and sectioning clips. Work in horizontal sections no thicker than half an inch.
Start at the nape, cutting straight across at marked length. Each subsequent section should align perfectly with the previous cut. Use the previously cut section as your guide for consistent length.
ARC Professional Scissors recommends their precision shears for blunt cuts requiring clean lines. The investment pays dividends when creating geometric shapes like bobs and A-line cuts.
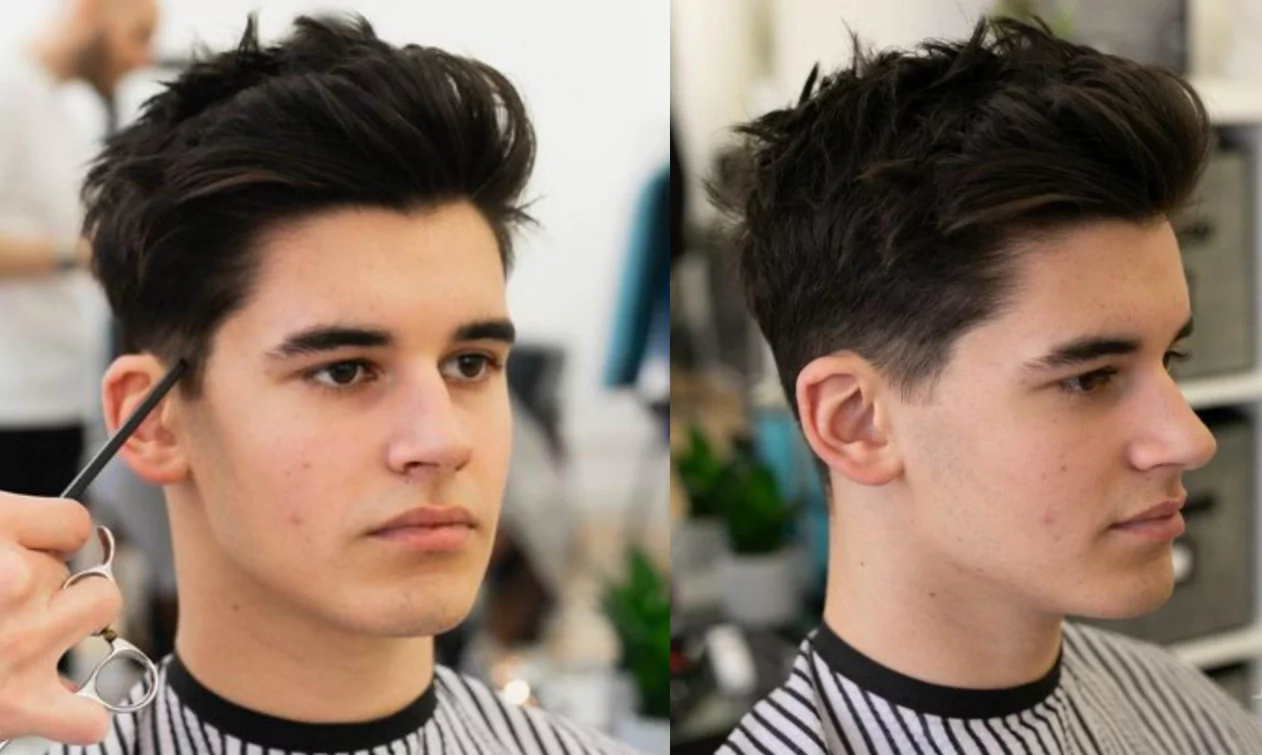
Face-Framing Layer Cuts
Face-framing layers enhance facial features while adding movement around the face. Begin at cheekbone level, cutting shorter pieces that gradually blend into existing length.
Hold sections at 90-degree angles to the head while cutting. This creates natural graduation that frames features beautifully. Work systematically around the face, maintaining consistent angles for even results.
This technique complements most hair textures and face shapes. The layers add dimension to flat styles while softening angular features.
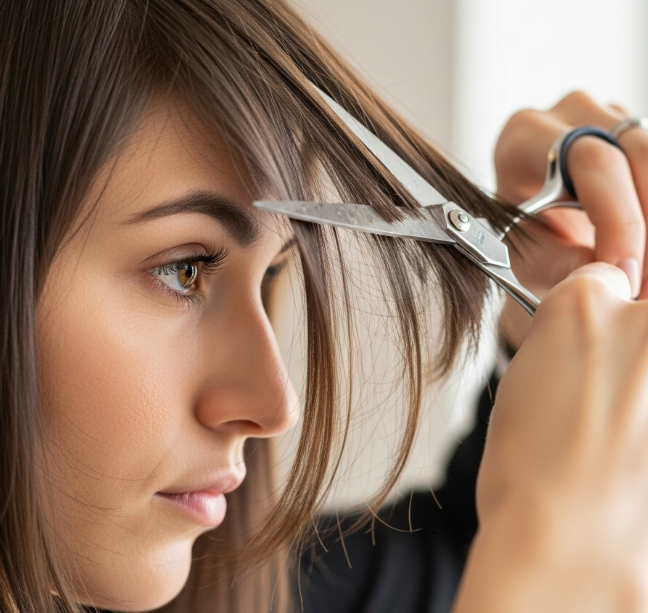
DIY Bang Trimming
Cutting bangs at home requires extreme caution and conservative approaches. Section the triangular bang area from temple to temple, extending back approximately two inches from the hairline.
Cut bangs slightly longer than desired final length. Bangs shrink considerably when they dry, especially in humid conditions. Make small, upward cuts rather than straight across for natural-looking results.
Curtain bangs and side-swept bangs prove more forgiving than blunt styles for beginners. These softer shapes hide minor imperfections while growing out gracefully.
Pixie Cut Maintenance
Maintaining a pixie cut at home focuses on neckline cleanup and ear area tidying. Use small scissors or clippers for detailed work around ears and neckline.
Trim conservatively, removing only obviously overgrown pieces. Pixie cuts require professional reshaping every 4-6 weeks, but home maintenance extends time between salon visits significantly.
Focus on keeping the overall shape intact rather than attempting major changes. Home maintenance should preserve the existing cut’s architecture.
Long Hair Layering Without Ponytails
Advanced layering techniques for long layers require systematic sectioning and angle consistency. Work in horizontal sections, elevating each section to specific degrees for graduated results.
Longer hair benefits from subtle layering that doesn’t compromise overall length. Cut conservatively, focusing on creating movement rather than dramatic shape changes.
Professional techniques translate well to home cutting when approached methodically and patiently.
Aftercare and Styling
Fresh cuts require gentle handling and appropriate products. R+Co styling products enhance newly cut hair’s natural movement and texture. Avoid heavy products that weigh down fresh cuts.
Post-cut styling reveals the true success of your efforts. Natural movement and healthy-looking ends indicate successful home cutting. Schedule professional touch-ups every 8-12 weeks to maintain optimal shape.
Conclusion
Home haircut guides provide valuable skills for maintaining healthy, attractive hair between salon visits. These 10 techniques offer solutions for various hair types and skill levels. Remember that patience and practice develop cutting abilities over time.
Start with conservative approaches and build confidence gradually. Easy DIY haircuts become second nature with experience and proper technique application. Your bathroom mirror can indeed become your personal styling station with these professional methods.
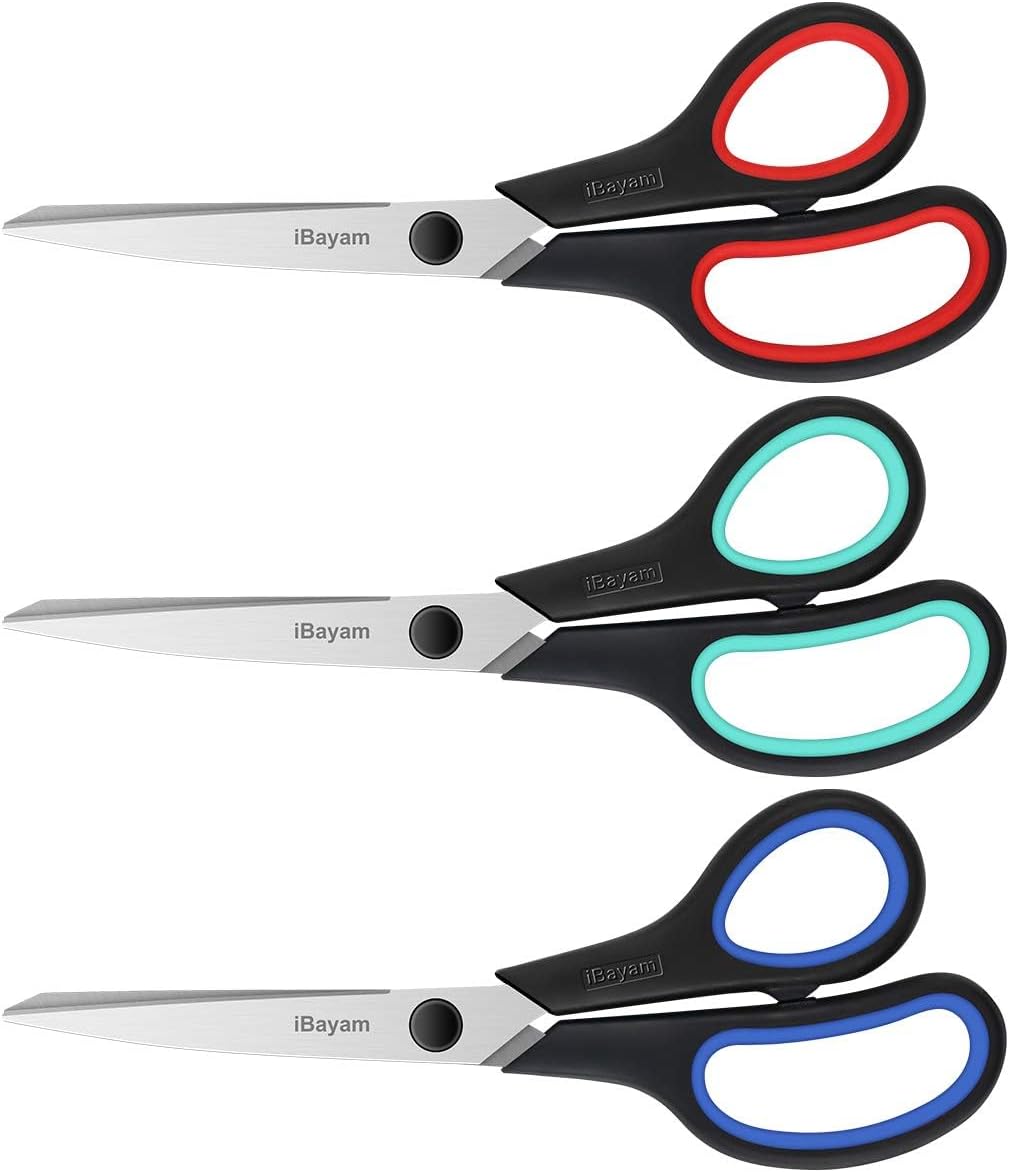
Get this 3-Pack of 8″ Heavy Duty Scissors with ultra-sharp blades and comfort grip handles—perfect for home, office, sewing, and crafts—on Amazon here