
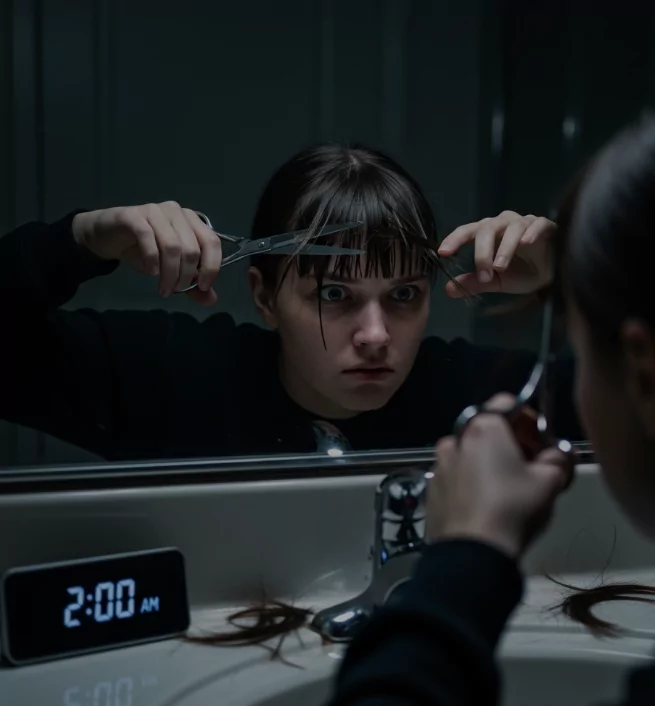
Picture this: it’s 2 AM, you’re staring at your reflection, and those scissors are calling your name. We’ve all been there – that sudden urge to transform our look with a fresh set of bangs. But here’s the brutal truth: most DIY haircuts end in tears because people skip the crucial steps that separate salon-worthy results from viral disaster videos.
As a professional hairstylist with over 15 years of experience working with clients who’ve attempted cutting your own bangs, I’ve seen it all. The good news? You absolutely can achieve stunning results at home when you follow the right system. This comprehensive guide will walk you through the exact techniques I use in my salon, ensuring your bangs at home project becomes a confidence-boosting success story rather than a cautionary tale.
The Pre-Cut Reality Check: Are You Actually Ready?
Before you pick up those precision shears, let’s have an honest conversation. Cutting bangs at home isn’t just about technique – it’s about understanding your unique features and lifestyle.
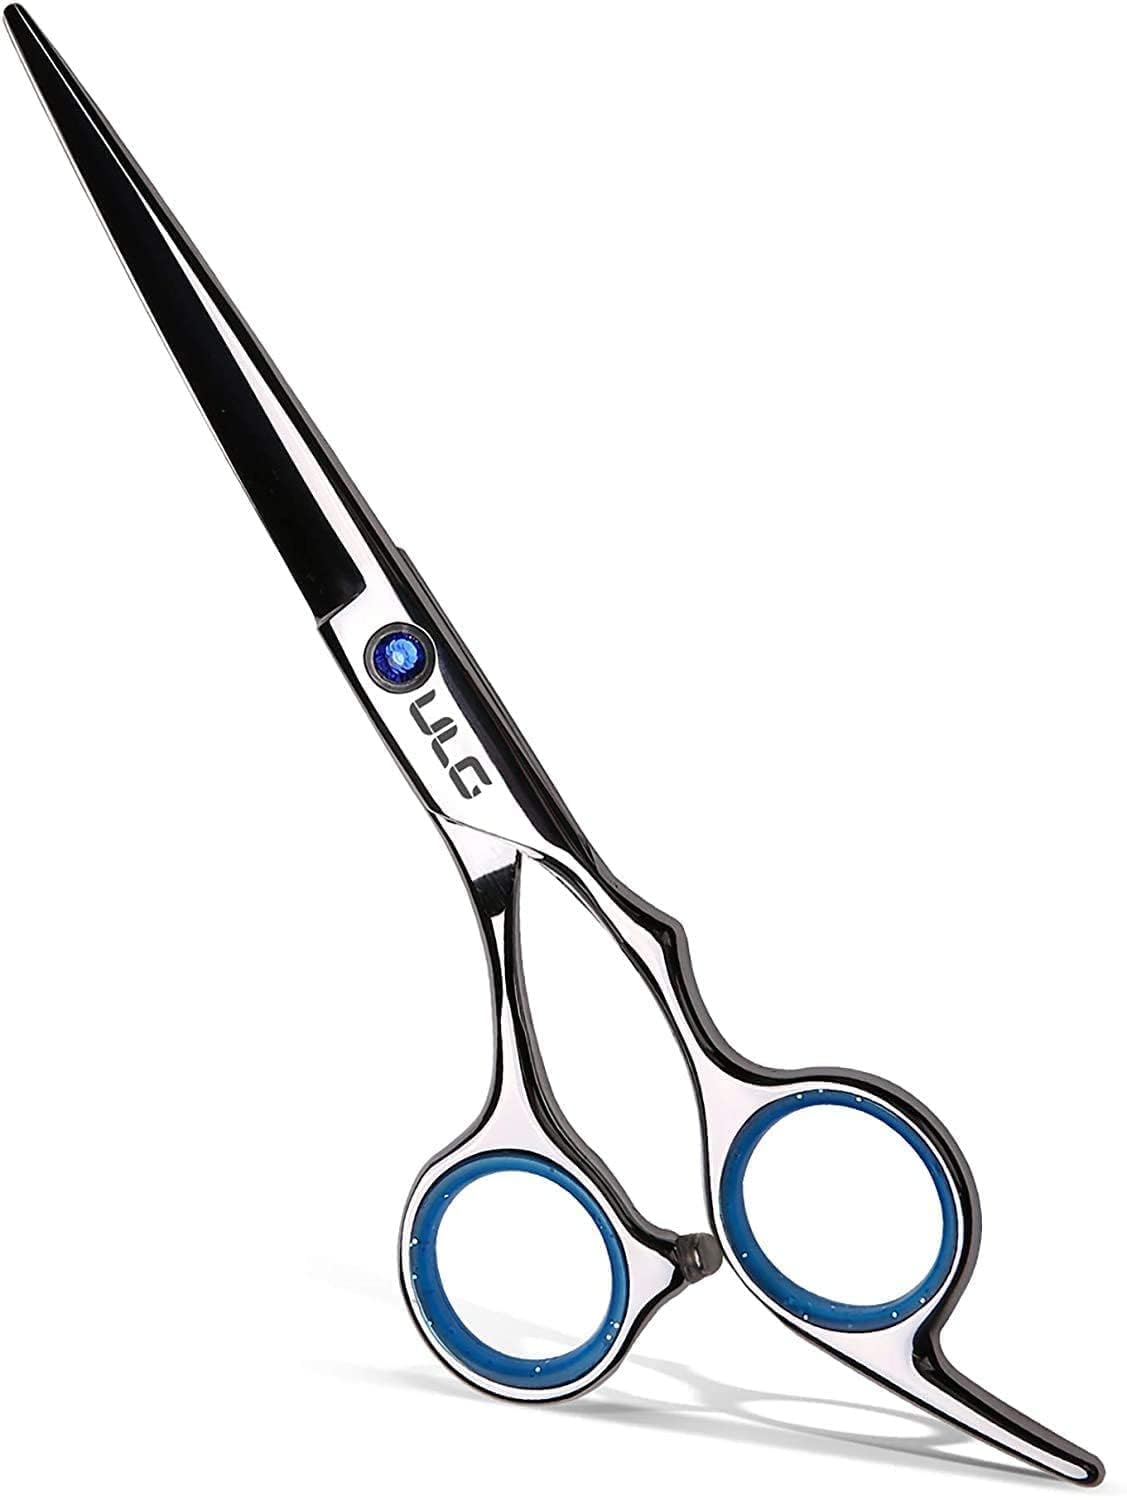
ULG haircut scissors are made from premium 440C Japanese stainless steel, hand-sharpened for razor-sharp precision without damaging hair. Featuring an ergonomic offset grip, mirror finish with sapphire detail, and 6.5-inch versatile design, they’re perfect for professionals or beginners at home and salon use.
Your face shape determines everything. Oval faces work with almost any bang style, while round faces benefit from longer, side-swept options. Square faces need softening with wispy bangs or curtain bangs, and heart-shaped faces look stunning with full blunt bangs that balance a wider forehead.
The absolute worst time to attempt cutting your own bangs? During emotional upheavals, after breakups, or when you’re feeling impulsive. Your hair will be there tomorrow – your regret might last months.
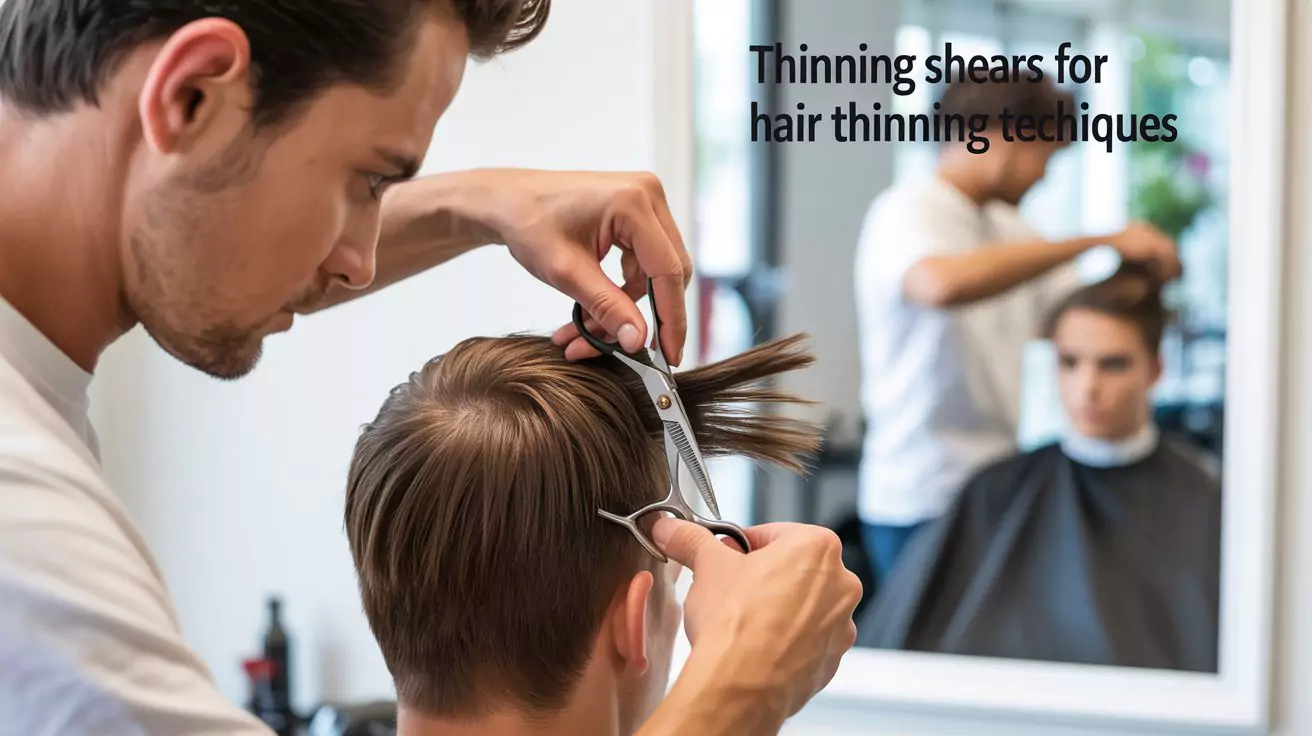
Essential Tools That Make or Break Your Results
Professional results demand professional tools. Those kitchen scissors hiding in your drawer? They’ll create jagged, uneven cuts that scream “DIY disaster.”
Invest in quality hair cutting shears – they’re sharper, create cleaner lines, and won’t damage your hair cuticles. A good pair costs $30-50 but will serve you for years. The rat-tail comb is non-negotiable for precise sectioning, while sectioning clips keep everything organized.
Don’t forget the heat protectant spray if you plan to style afterward. Your hair will thank you, and the results will look more polished.
Foundation Prep Work: Setting Yourself Up for Success
Here’s where most people go wrong: they start cutting immediately. Professional stylists spend significant time on preparation, and you should too.
Always start with dry hair when cutting bangs at home. Wet hair shrinks as it dries, often by 20-30%, which means your perfectly measured wet cut becomes way too short once dry. This single tip prevents more disasters than any other.
Map your face carefully. Use your eyebrows as guides – most flattering bangs fall somewhere between the brow bone and lashes. Hold up a fine-tooth comb horizontally across your eyebrows to visualize the length before cutting.
The Cutting Process: Professional Techniques Made Simple
The inverted triangle method revolutionized how I teach DIY bangs. Start by parting your hair down the middle, then create a triangle section with the point at your hairline and the base running temple to temple. This ensures proper width and prevents the dreaded “too-narrow” bang look.
For curtain bangs, the most requested style in my salon, start longer than you think you need. Create a center part, then cut each side at a slight angle, with the shortest point at the center gradually lengthening toward the temples. The key is following your cheekbone angle – this creates the most flattering frame.
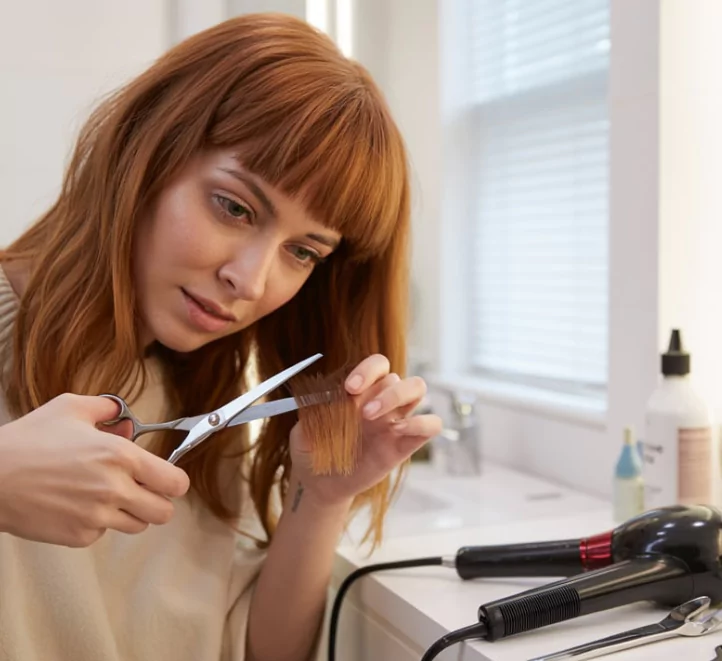
Blunt bangs require the steadiest hand. Cut straight across, but here’s the professional secret: don’t try to get it perfect in one pass. Make three separate cuts – rough it in first, then refine twice more. This prevents overcutting, the number one cause of bang regret.
For wispy bangs, use the point-cutting technique. Hold your shears vertically and make small snips into the hair ends. This creates soft, feathered edges rather than harsh lines. Work slowly – you can always cut more, but you can’t put hair back.
The “cut less, assess more” philosophy saves countless disasters. Cut conservatively, style your hair, live with it for 24 hours, then make adjustments. Your initial cut might look perfect, but hair settles and reveals its true shape after styling and sleeping.
Styling Your New Bangs Like a Pro
Bangs styling can make or break your entire look. Fresh cuts often stick straight out – this is normal and temporary. Use a round brush and blow dryer to train them into place, rolling the brush under and directing airflow downward.
Heat protecting spray becomes your best friend. Apply lightly to damp bangs, then style with medium heat. High heat damages fine bang hair quickly since it’s the most fragile part of your haircut.
For loose waves that complement your new bangs, use a styling wand on medium heat. Curl away from your face, leaving the ends out for a modern, effortless finish. This technique works beautifully with curtain bangs and creates that coveted Bridget Bardot vibe.
Product application requires a light touch. A tiny amount of texturizing cream or light-hold mousse adds definition without weighing down fine bangs. Avoid heavy oils or serums near your hairline – they’ll make bangs look greasy within hours.
Damage Control: When Things Go Sideways
Even professionals occasionally need to fix bangs cutting mistakes. Too short? Create texture with point-cutting to minimize the blunt edge, then style with slight waves to add visual length. Headbands and bobby pins become your temporary best friends.
Uneven bangs happen more often than you’d think. The fix depends on the severity – minor unevenness can be corrected with careful trimming of the longer pieces. Major issues require professional intervention, and there’s no shame in that.
If your bangs turned out too thick or heavy, carefully thin them using the point-cutting technique. Work conservatively – over-thinning creates wispy, damaged-looking ends that take months to recover.
Cowlick problems plague many DIY attempts. Work with your hair’s natural growth patterns instead of fighting them. Sometimes this means adjusting the part or slightly shifting the bang placement to one side.
Maintenance and Growing Out Gracefully
Trim bangs between haircuts carefully and sparingly. Most people can safely trim 1/4 inch every 3-4 weeks using the same techniques they used for the original cut. Go slowly and remember that less is always more.
Growing out bangs requires patience and strategy. The awkward in-between stage lasts about 6-8 weeks, but strategic styling helps. Side parts, headbands, and hair accessories become valuable tools during this phase.
Use lightweight styling products that add texture without weight. Sea salt sprays work wonderfully for adding grip to slippery, growing-out bangs that won’t stay put.
Your Path to Bang Success
Cutting bangs at home successfully comes down to three critical factors: realistic expectations, proper preparation, and patience throughout the process. You’re not trying to replicate a $200 salon cut – you’re creating a flattering, manageable style that enhances your natural beauty.
Remember that hair grows, mistakes fade, and confidence comes from taking thoughtful risks. With these professional techniques and a commitment to the process, your DIY bangs can absolutely rival salon results.
The most successful bangs at home projects happen when you respect the process, invest in proper tools, and remember that perfection isn’t the goal – improvement is. Your hair is uniquely yours, and learning to work with it rather than against it creates the most beautiful, authentic results.
FAQs
Q1: How do I cut my bangs myself?
Cut your bangs at home by sectioning into an inverted V, twisting, and trimming with sharp shears for a soft, blended look.
Q2: Is it okay to cut bangs at home?
Yes, you can cut bangs at home with the right tools, technique, and careful sectioning to achieve salon-style results safely.
Q3: Should I cut my bangs wet or dry?
Always cut bangs dry since wet hair shrinks as it dries, helping you avoid bangs that end up shorter than expected.
Q4: Why do you twist your bangs when cutting?
Twisting bangs before cutting creates natural tension, ensuring a softer, layered finish that blends seamlessly with your hairstyle.